Supply and demand zones
Also called supply and demand, supply demand zones, SD zones, S&D zones, supply and demand areas
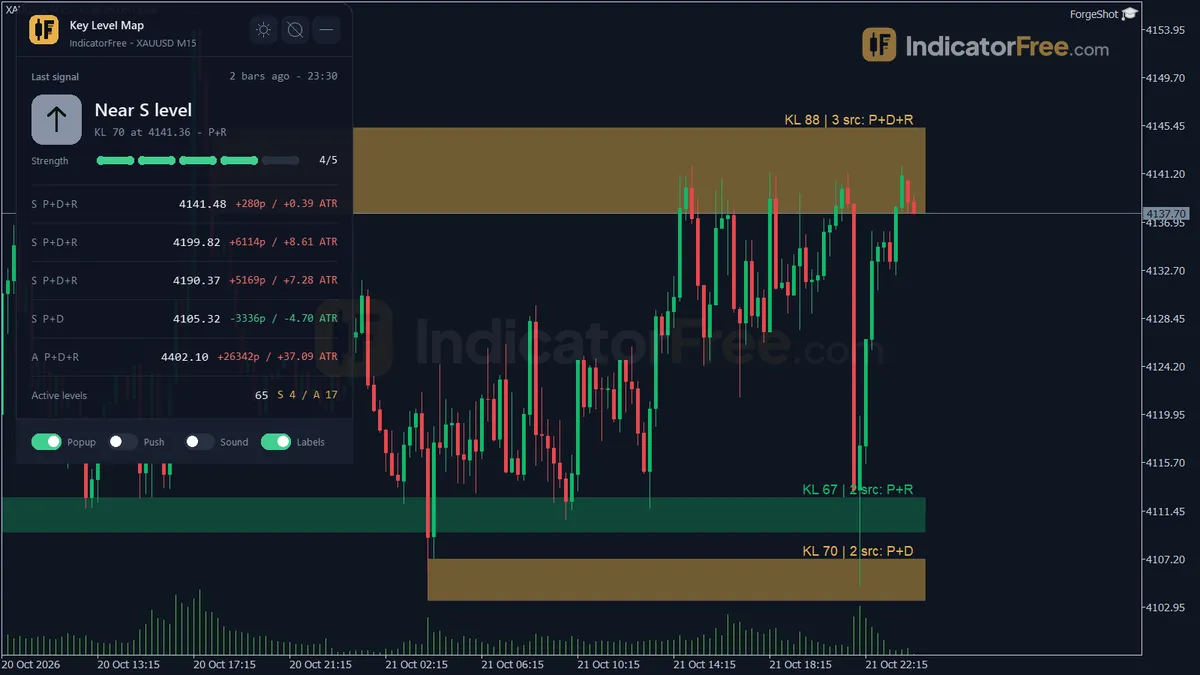
Supply and demand zones are price areas on a chart that price left quickly after a short pause. A demand zone sits below the current price and may attract buyers; a supply zone sits above it and may attract sellers.
A zone gives you three numbers before you place an order: where to enter, where your stop goes, and how many pips (price steps of 0.0001 on most pairs, 0.01 on yen pairs) lie between them. That last number sets your lot size, so a badly drawn zone costs money even when your direction is right.
What a supply or demand zone shows on the chart
Every zone has two parts. The base is a small group of narrow candles where price paused. The departure is the strong move that left the base behind.
The idea behind it is that large orders were placed at the base and not all of them were filled, so the rest may still be waiting there. You cannot see those orders on a retail chart. A zone is a guess read from the candles, not a fact.
A demand zone is a base below the current price that price rallied away from. A supply zone is a base above the current price that price dropped away from. Four formations create them. The move away from the base decides the zone. The move into it decides continuation or reversal.
The chart below shows a drop-base-rally: three narrow base candles, a strong rally away, and the first return to the zone.
Drawing the zones on your trading platform
Your trading platform has no built-in zone. You draw it yourself with the rectangle tool.
- Open a 4-hour or daily chart and find a strong move: several large candles in one direction with little overlap.
- Look at the narrow candles just before that move. They are the base.
- Draw a rectangle across the base. The proximal line is the near edge, closest to the current price, and is often drawn at the base candle bodies. The distal line sits on the distal (far) edge, at the wicks. A rule you can copy: start with both edges at the wicks; if that zone would make your stop more than half the distance to your target, draw the proximal line at the bodies instead.
- Extend the rectangle to the right until price comes back.
- Delete it when a candle closes beyond the distal line: the bottom of a demand zone, the top of a supply zone.
Automatic zone indicators each use their own rules for what counts as a base. Two tools can mark different zones on the same chart, so check any automatic zone against the five steps above.
How a supply or demand zone differs from support and resistance
Support and resistance is a line where price turned before. A zone is an area built from where price paused and then left fast. That changes how you draw it, when you drop it and how you treat a second touch.
| Drawn from | Shape (line vs area) | What invalidates it | Does a retest weaken it | |
|---|---|---|---|---|
| Support or resistance | Earlier highs or lows where price turned | A single line | A close through the line; many traders then expect it to switch roles (old support acting as resistance) | Usually read the other way: many traders take each extra touch as confirmation |
| Demand zone | The base before a strong rally | An area from the proximal line down to the distal line | A candle close below the distal line | Yes, waiting buy orders get used up |
| Supply zone | The base before a strong drop | An area from the proximal line up to the distal line | A candle close above the distal line | Yes, waiting sell orders get used up |
Checks before you trade a zone
- Departure. Price must have left fast. A rule you can copy: measure from the last close of the base to the close of the third candle after it. If that move is less than three times the base height, it is a drift, not a zone. In the chart above, the base is 20 pips tall and price went from 1.0962 to 1.1046 in three candles. That is 84 pips, more than the 60 pips the test needs.
- First return. A zone that price has not revisited is the cleaner setup. Each visit may use up waiting orders.
- Trend. Prefer demand zones when the daily chart is rising and supply zones when it is falling. Continuation zones that follow the trend are the default: rally-base-rally in an uptrend, drop-base-drop in a downtrend. A reversal zone must pass a stricter departure test of four times the base height. The drop-base-rally above is a reversal zone, so it needs 80 pips. It travelled 84, so it passes.
- The edge is not a line. Expect price to poke inside the zone, as the return candle did here; that is why the stop sits beyond the far edge.
- News. A scheduled release can push price through any zone. Check the calendar before leaving a pending order (an order that waits at your price and fills only if price gets there).
How a zone sets your entry, stop and lot size
The figures here are an illustrative example on a USD-quoted pair, using the zone drawn above. The base runs from 1.0950 to 1.0970, so the zone is 20 pips wide.
You place a buy limit (an order that buys only if price falls to your level) at the top edge, 1.0970. Your stop goes 5 pips below the bottom edge, at 1.0945. Your target is 1.1045, just under the prior high at 1.1050.
In the chart, price has reached 1.1040 by the last candle, so the trade is still open and the target is not yet hit.
Risk is 1.0970 minus 1.0945, which is 25 pips. Reward is 1.1045 minus 1.0970, which is 75 pips. Your account is $5,000 and you risk 1% of it. One standard lot is worth $10 per pip.
A rule you can copy: set your target just before the first opposing level (the prior high for a buy, the prior low or the next demand zone for a sell). If that target is less than twice your stop distance away, skip the trade. Here it is 75 pips to the target against a 25-pip stop, which is 3 times, so the trade passes.
Now widen the zone to 40 pips with the same buffer. The stop becomes 45 pips, and $50 ÷ (45 × $10) gives about 0.11 lots. A wide zone does not raise your risk if you resize; it shrinks your position. The real cost is the ratio: with the same 75-pip target, reward to risk falls from 75 ÷ 25 = 3 to 75 ÷ 45 ≈ 1.7. That fails the twice-the-stop rule, so the wide zone is a skip.
A supply zone mirrors this for a sell. You place a sell limit (an order that sells only if price rises to your level) at the bottom edge, and the target sits just above the prior low.
A sell closes at the ask (the price you can buy at), which sits above the bid price most charts draw by the spread, the gap between the two.
So put the stop above the top edge plus the buffer plus the spread. Otherwise a move that only touches the zone on the chart can still close your trade.
FAQ
What do I do if price never comes back to my zone?
Nothing. Cancel the pending order and leave the move alone. Buying at market after price has already left puts your entry further from the stop, so the lot size you worked out no longer fits.
Do I need a book, PDF or course to trade supply and demand zones?
No. The method is the base, the departure and the return. Mark 50 past zones on one pair, note what price did at each return, and you will learn more than from reading another explanation.